When I was younger, prototyping hardware seemed complicated—metal parts took forever, tools were expensive, and every iteration felt painfully slow. But growing up in India, I quickly learned to see prototyping differently. Instead of ordering parts, I began building things from whatever I had on hand. I realized that moving fast and cheaply was not only possible, it was essential.
The Journey to Rapid Prototyping
After I first got access to 3D printers at college, I discovered something simple: if you have access to a CAD model, you can hold your idea in your hands the same day. This changed everything.
Instead of waiting days or weeks for parts, I designed CAD models or even downloaded free STEP files, sliced them for my 3D printer, and within hours, had tangible versions in plastic for less than the cost of a coffee. These quick iterations weren't always pretty—but each one immediately showed me what needed fixing.
My Standard Approach: Idea → CAD → Print → Test → Iterate.
Each loop now takes hours, not weeks.
Core Principles for Rapid Prototyping
- Start cheap: Use lowest resolution, minimal infill—just enough detail to answer basic questions like, "Does this fit?" "Is this ergonomic?" "Does it look aesthetic?"
- Invest in learning: Spend money on learning, not on unnecessary polish. Filament is inexpensive; wasted time is costly.
- Keep Iterating: Keep prototypes on desks, marked up with notes, reminding you it's okay—even necessary—to iterate openly.
Beyond Mechanical Parts
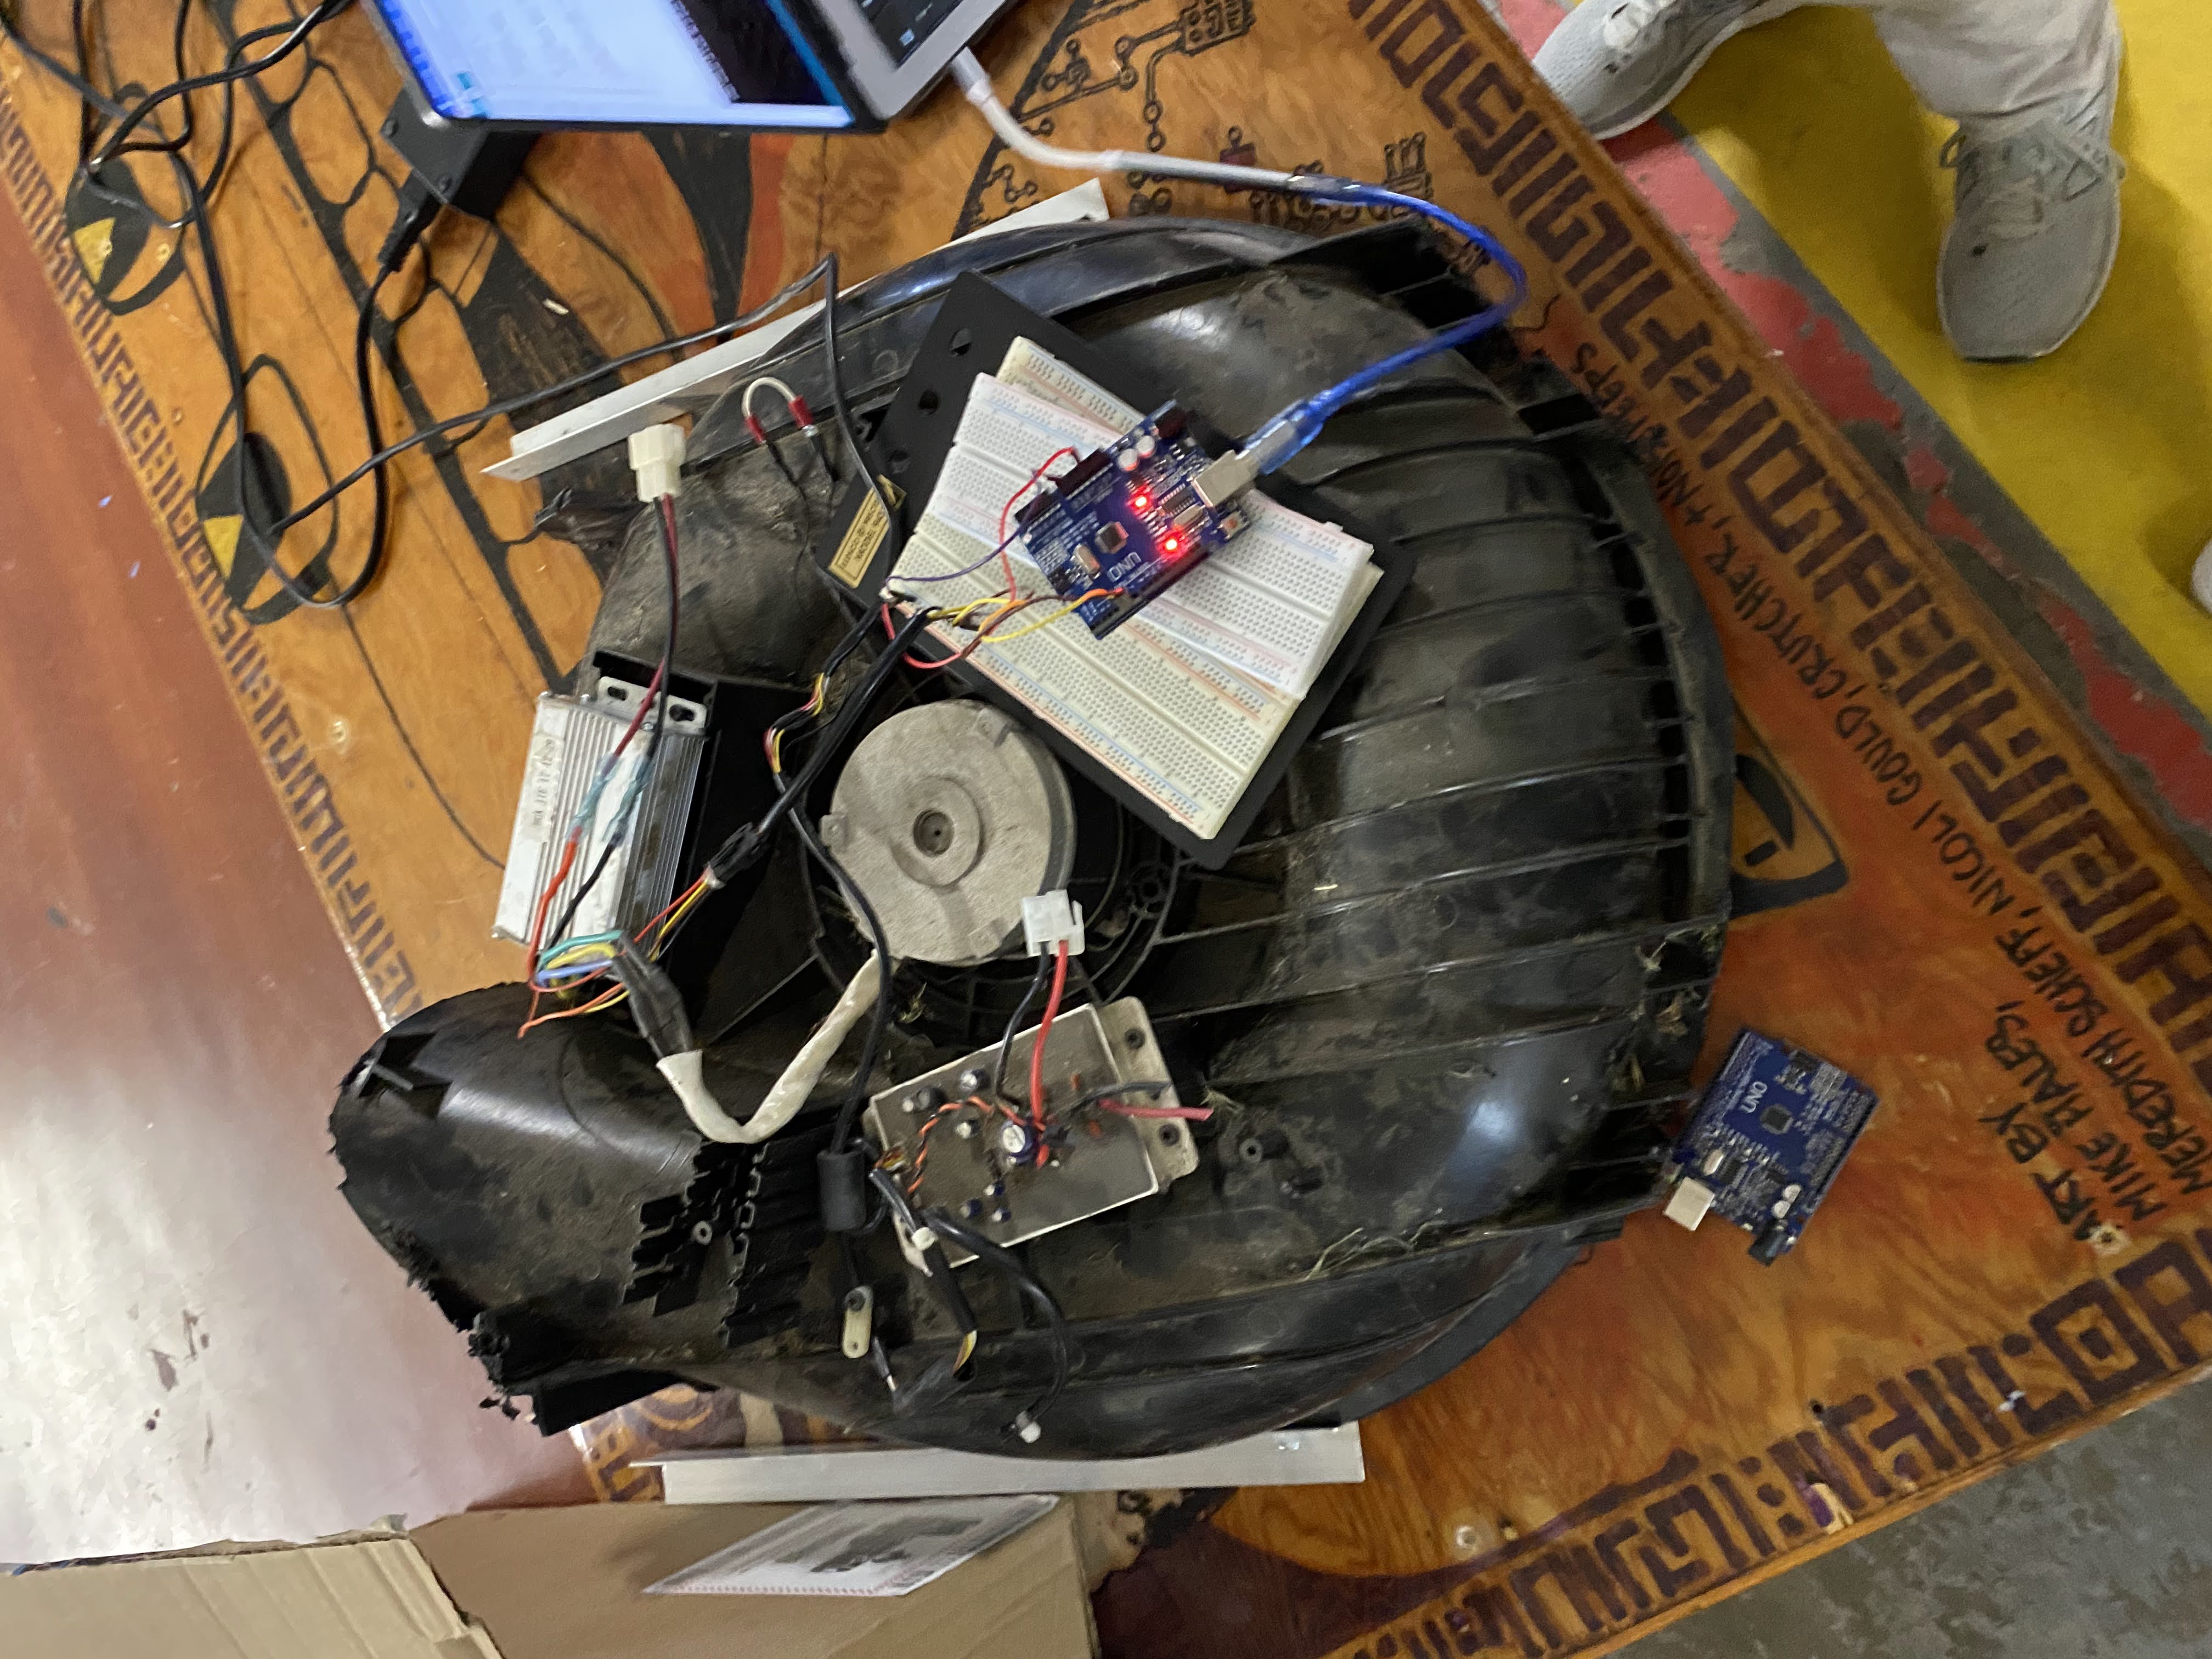
This approach works for everything—electronics, mechanical designs, enclosures, and more. In electronics, it means quickly wiring circuits on perfboards before committing to custom PCBs. In mechanical design, it means printing simple models first, refining them gradually until they're ready.
Traditional Prototyping
- Precision machined parts
- High initial costs
- Days or weeks per iteration
- Early commitment to designs
Rapid Prototyping
- 3D printed components
- Low cost per iteration
- Hours between versions
- Fail fast, learn quickly
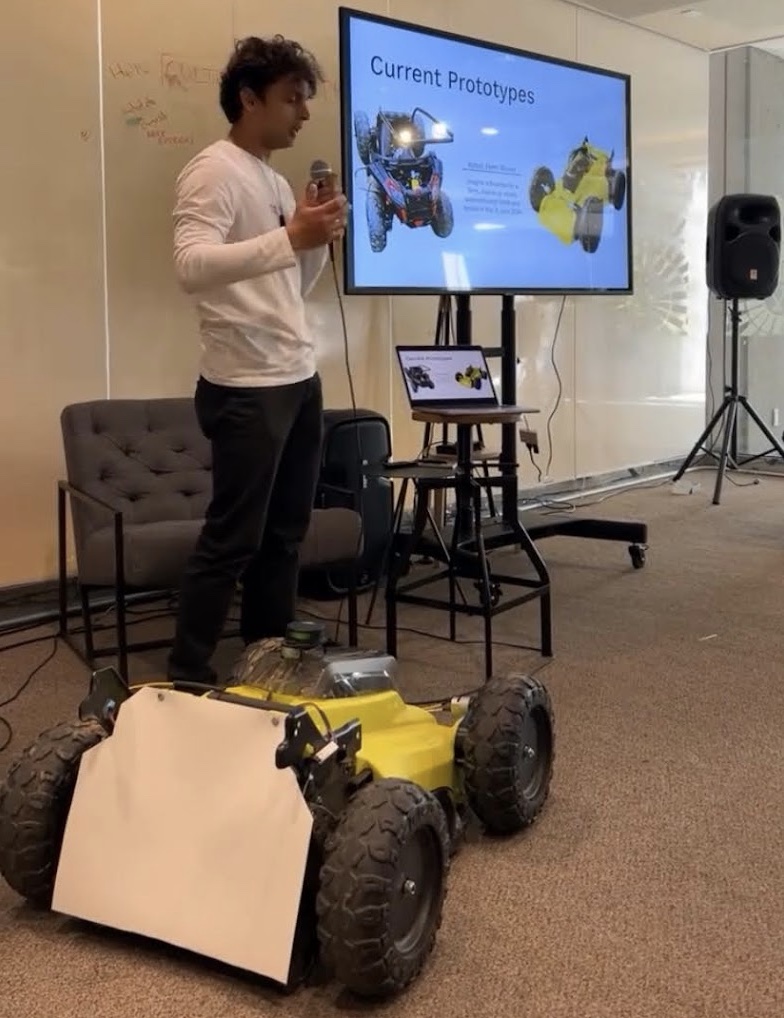
A Real-World Example: Farm Weeding Robot
I built a small robot to solve the weed problem in orchards. Here's how it evolved:

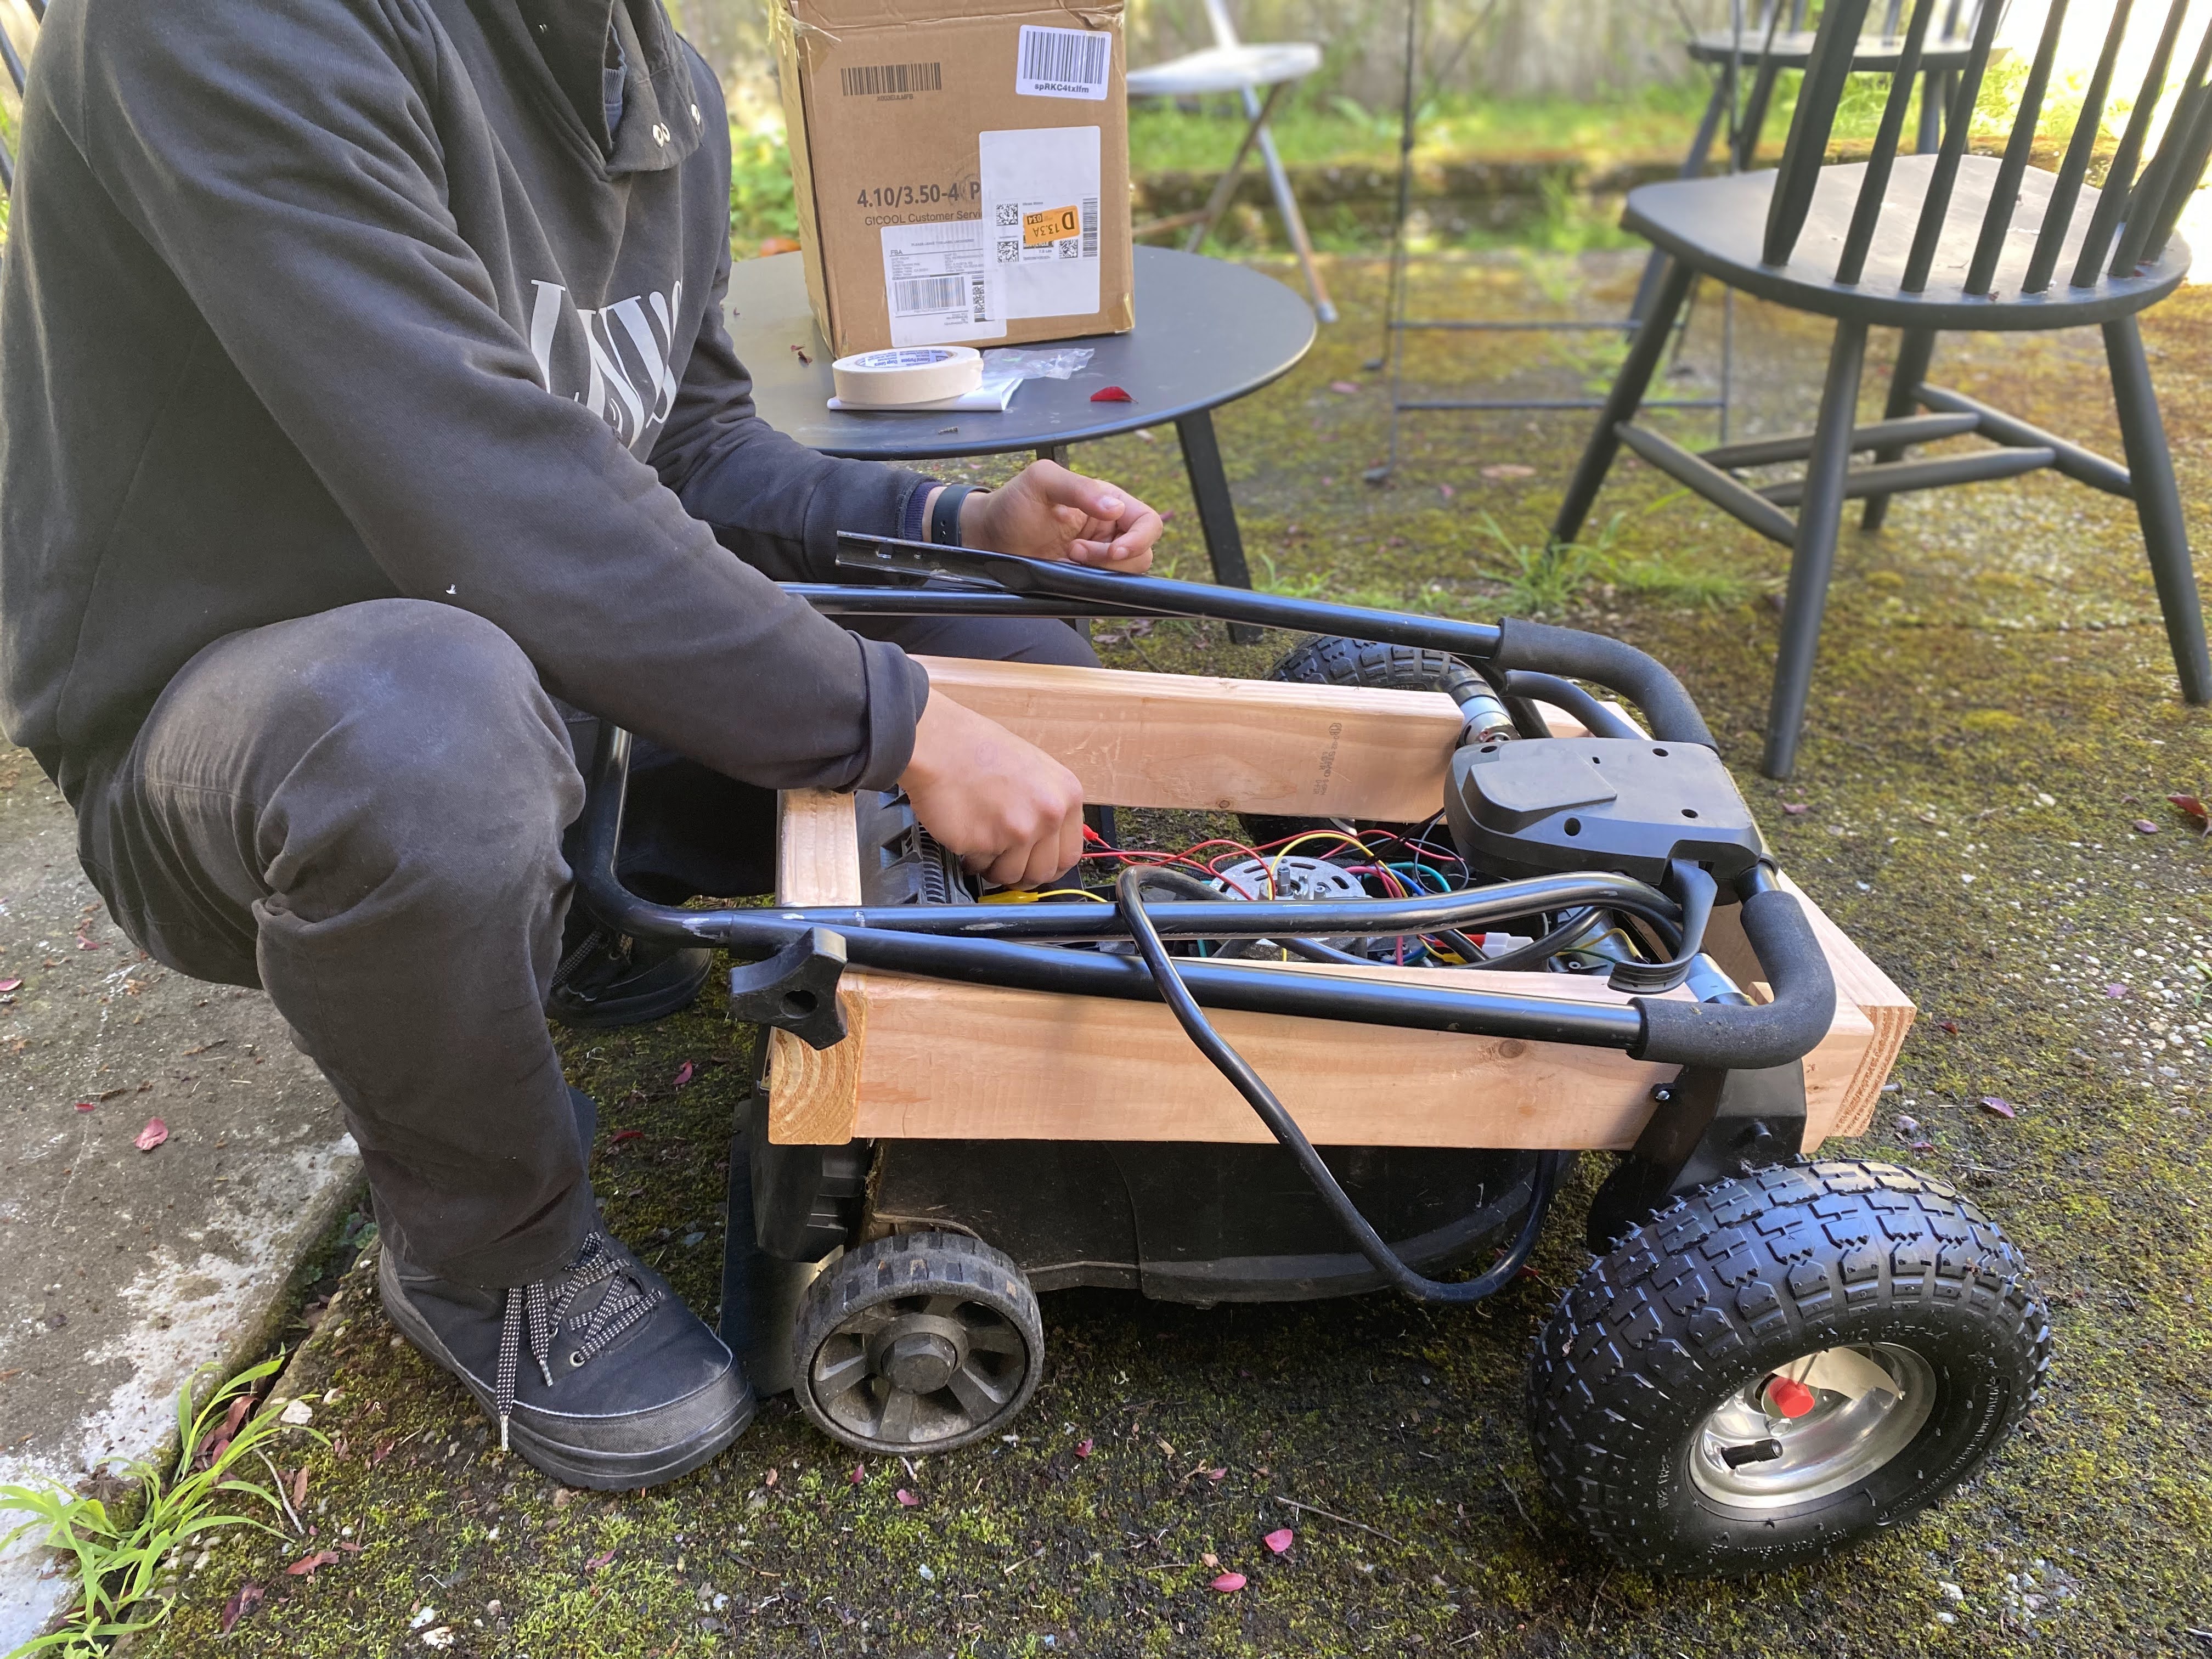
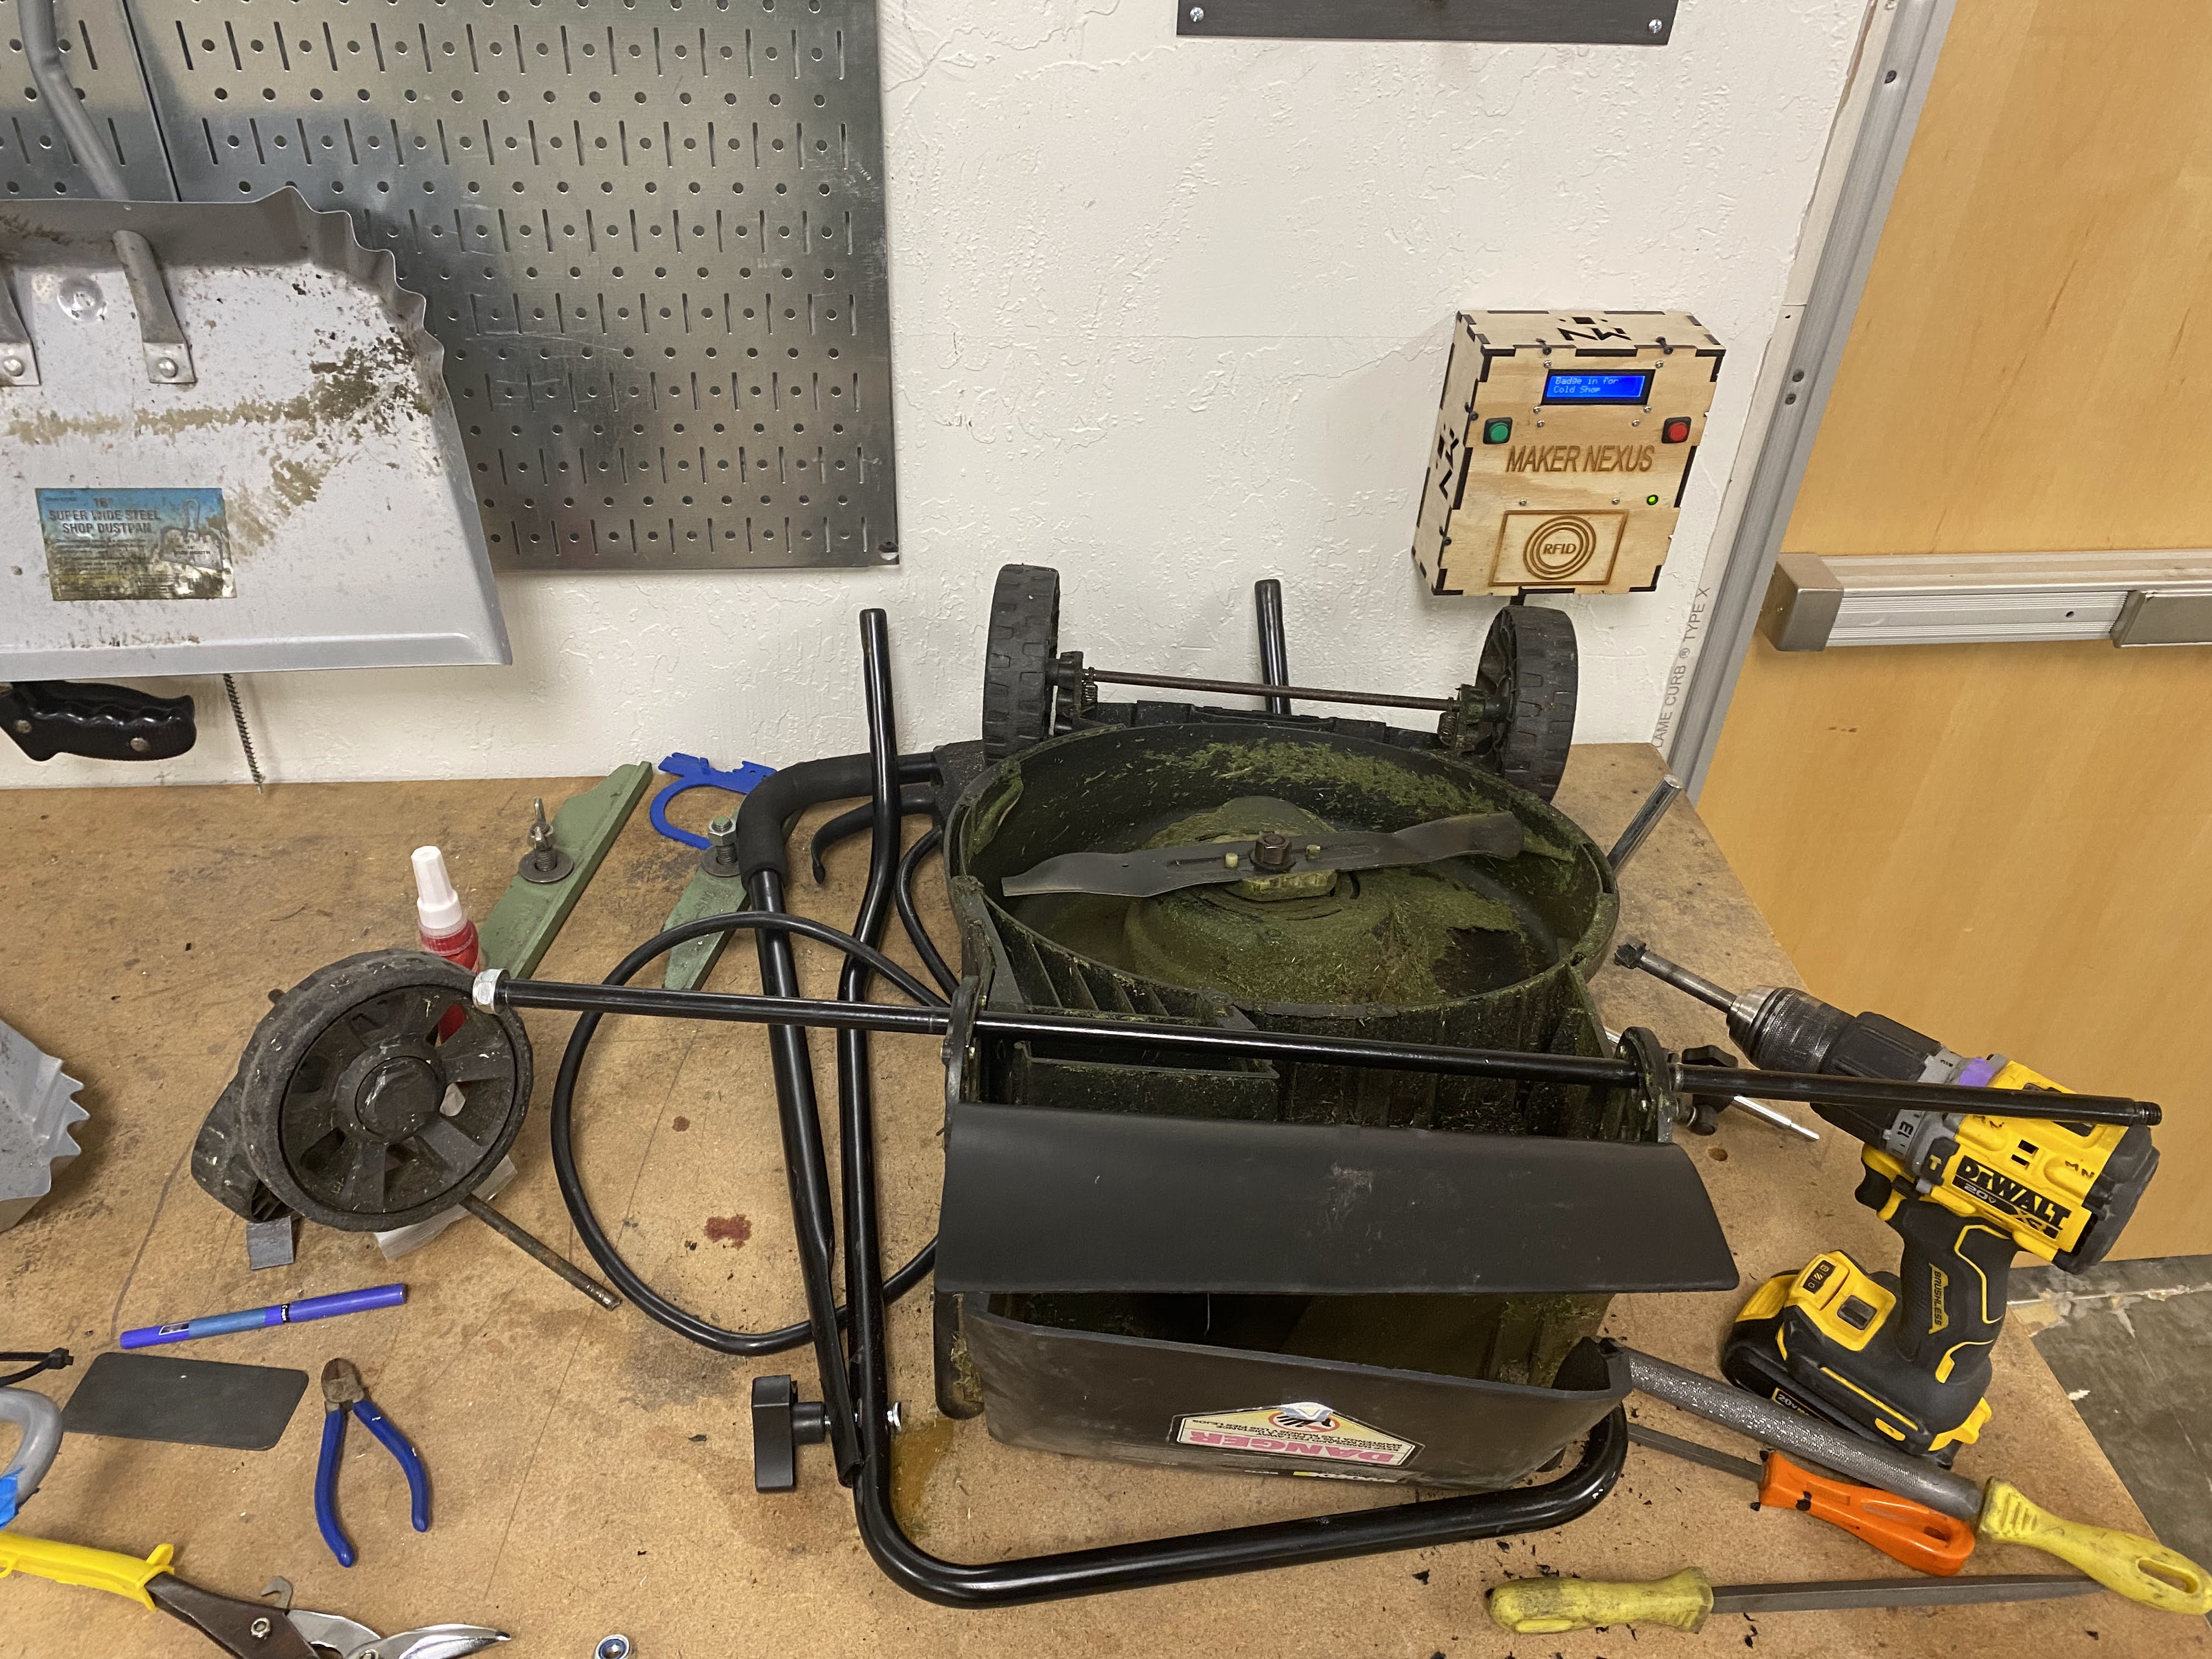
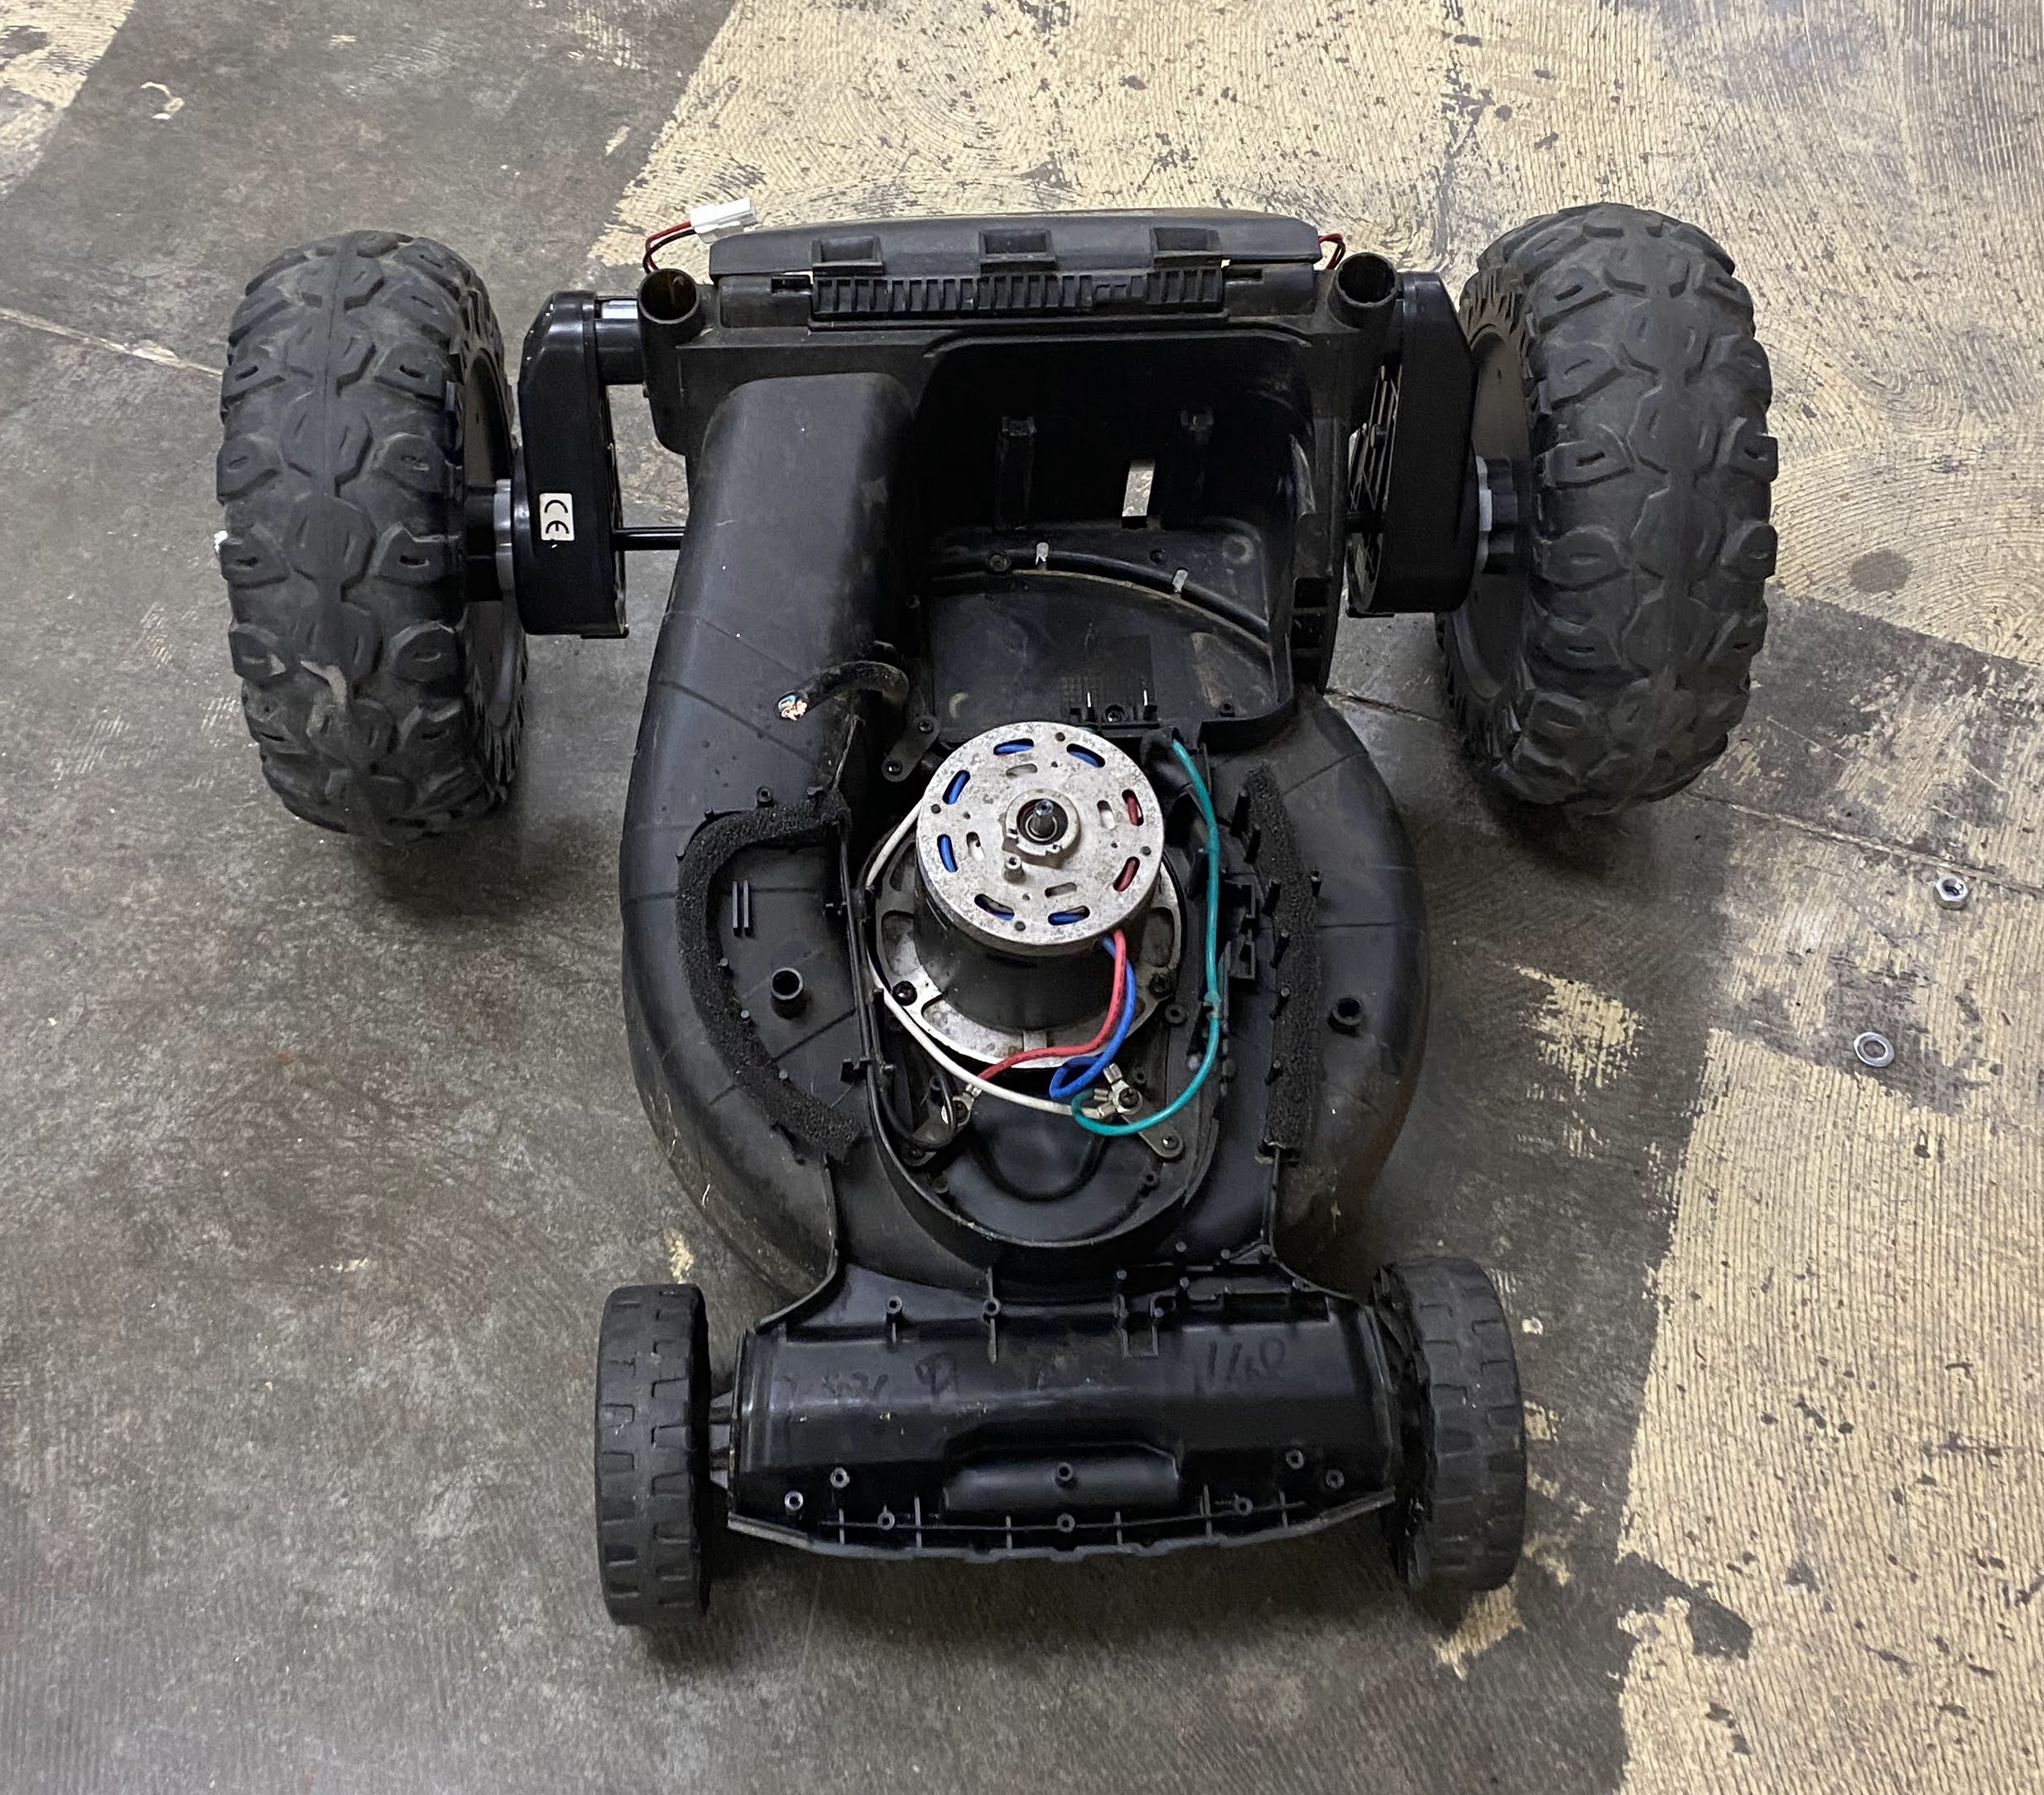

First try: Used an old discarded electric lawn mower and basic parts. Cost: $50. Learned the height of the mower was too high.
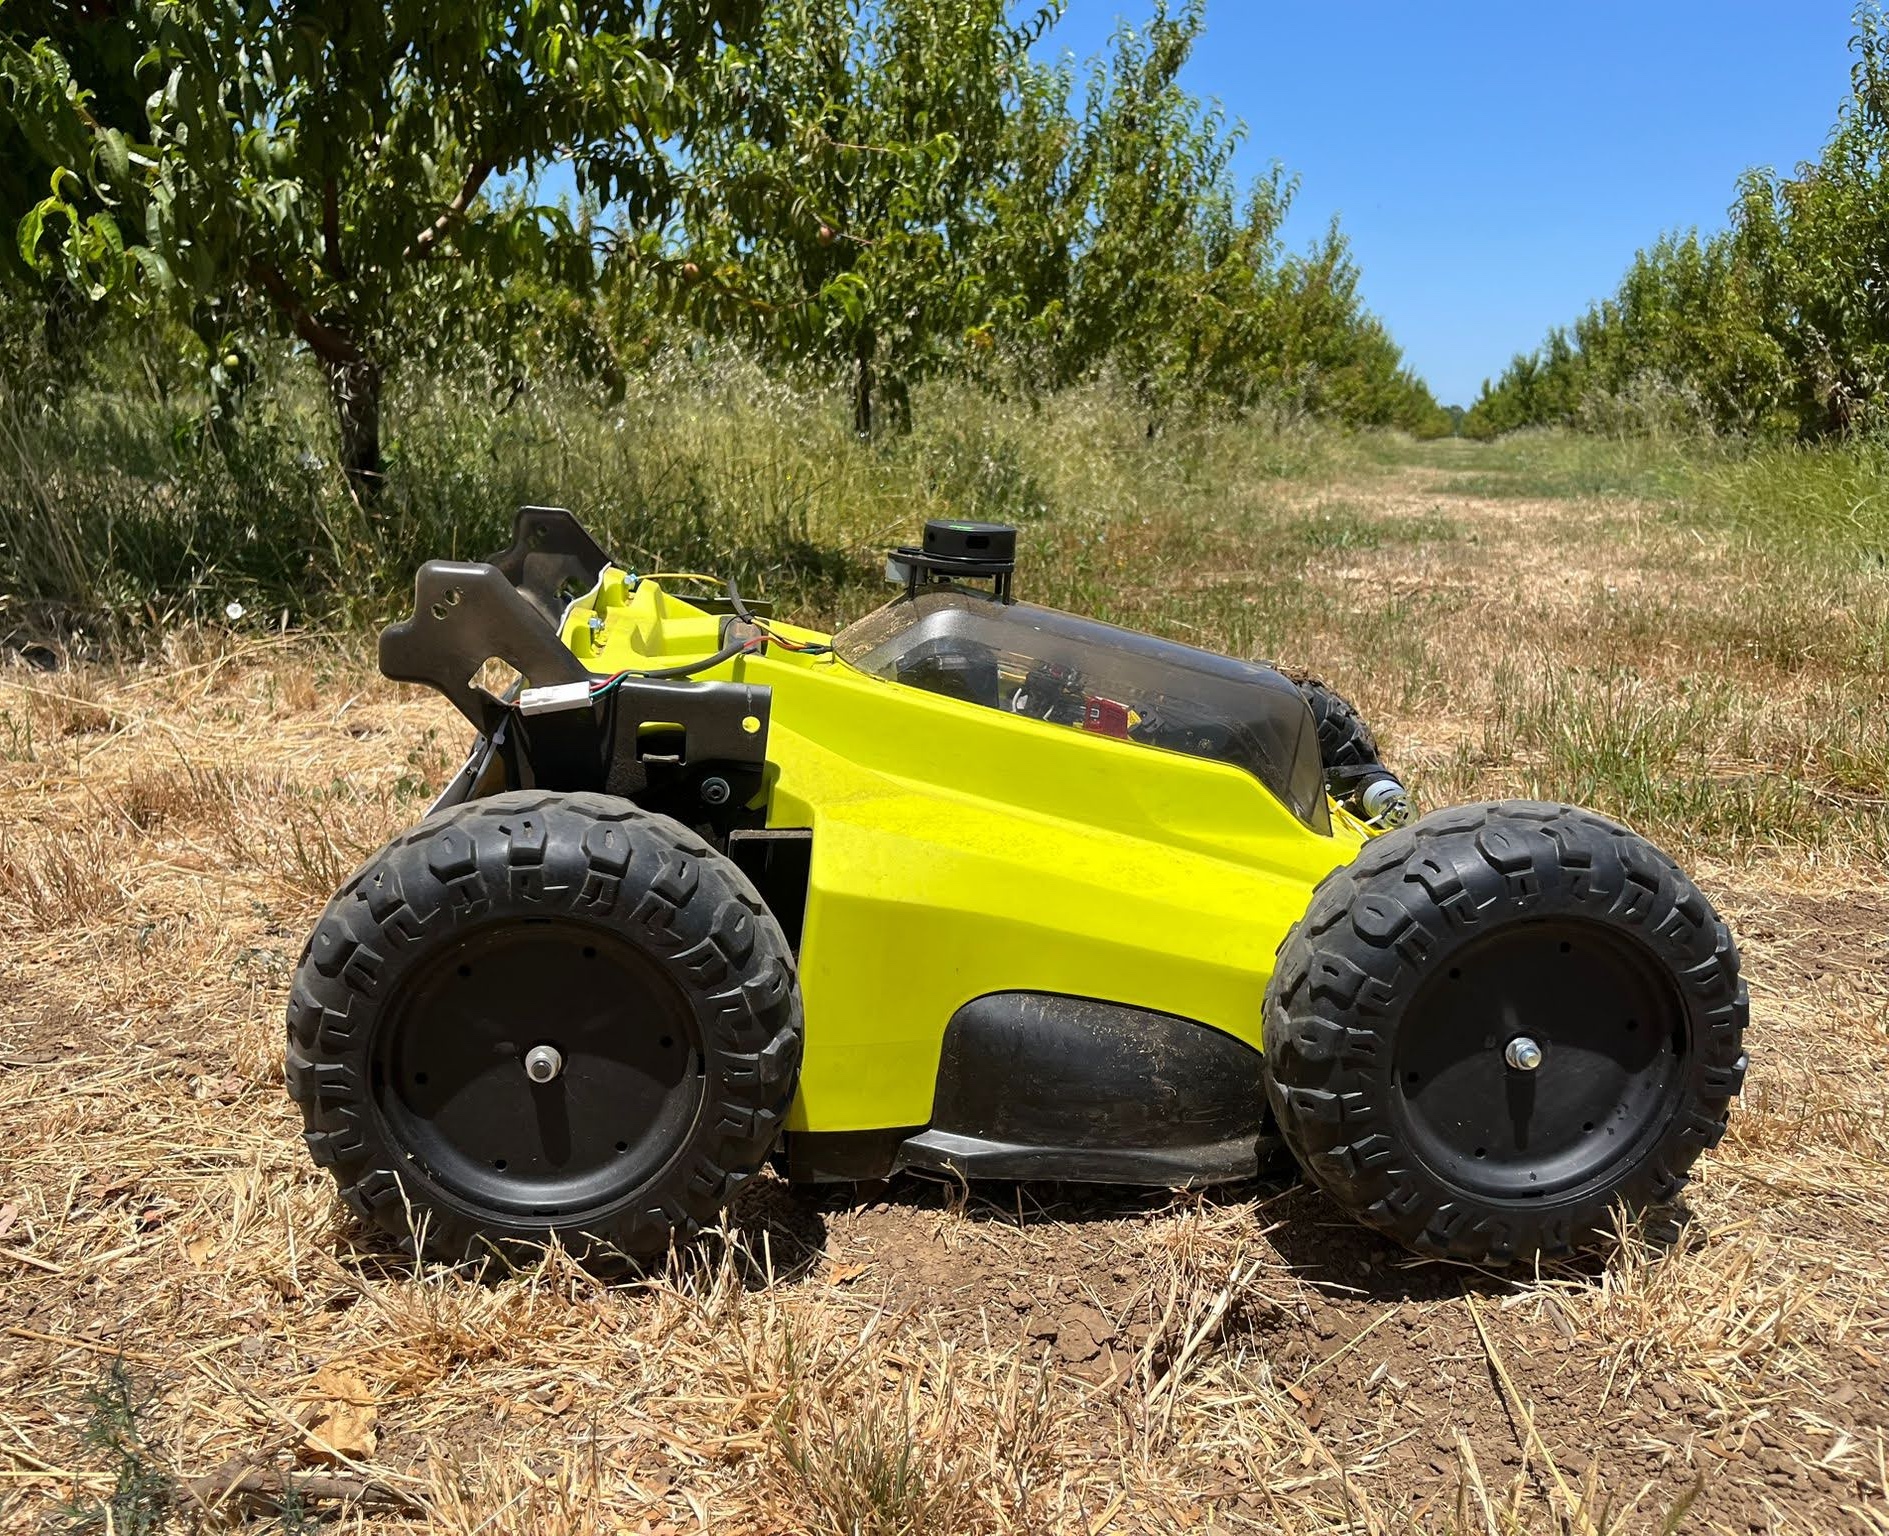
Second try: Leaned on the mower frame of a giant manufacturer. Cost: $300. Worked well enough to show my initial customers.
Total time: 2 weeks. Total cost: $350. Learned more than I would have in 6 months of planning.
Why It Works
People love seeing real prototypes. It beats long email threads and meetings.
That's how you build great hardware rapidly.